

I had a lot of time over the past few days (more on that later), so I decided to get back into something I love – crafting and creating! Wether it’s jewelry or picture frames or home goods, I like to grab the glitter and run with it! I’d definitely say this is something I’ve gotten from my aunt. Ever since I can remember she’s been tying bows and heating up the hot glue gun. I loved watching her in all her crafts and definitely adopted this into my life! Read on for all the wreathing!
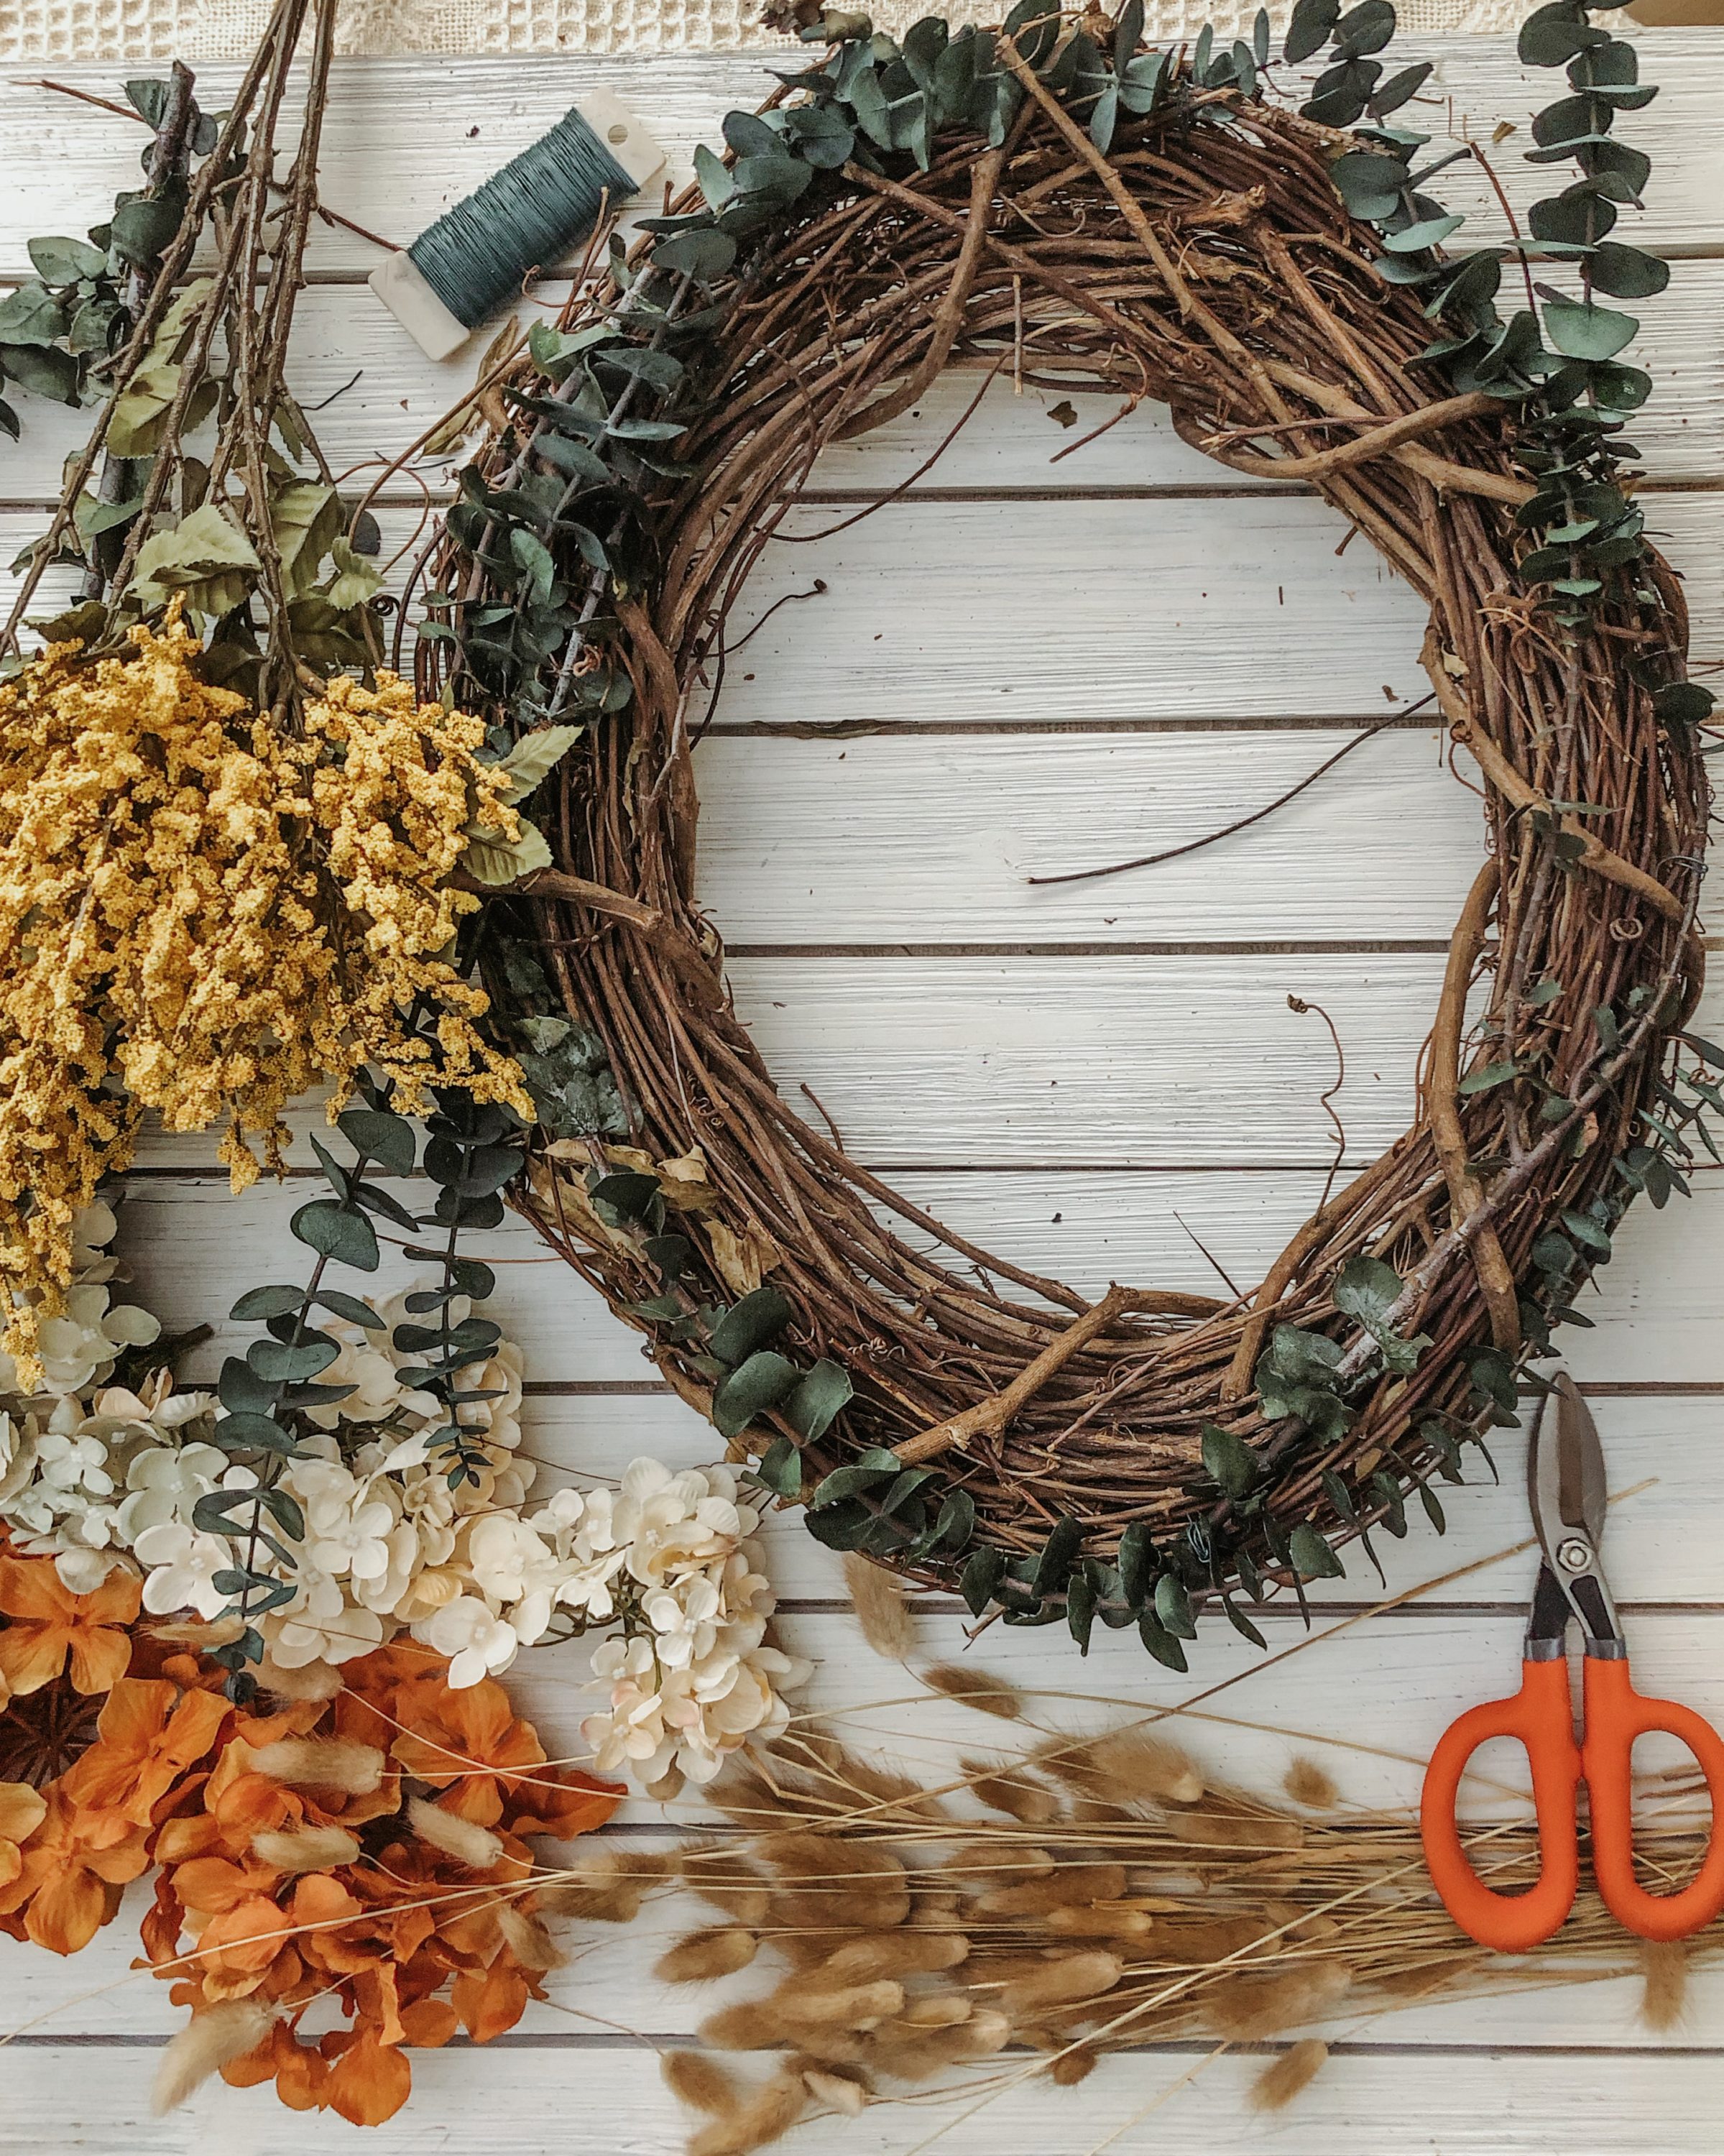
Supplies:
Floral wire
Wire Cutters
Grapevine Wreath (I used an 18″ one but you can use whatever size feels best for you and your space!)
Hot glue gun + glue sticks
Flowers of your choosing – get creative and be bold! There are soo many fun options out there.
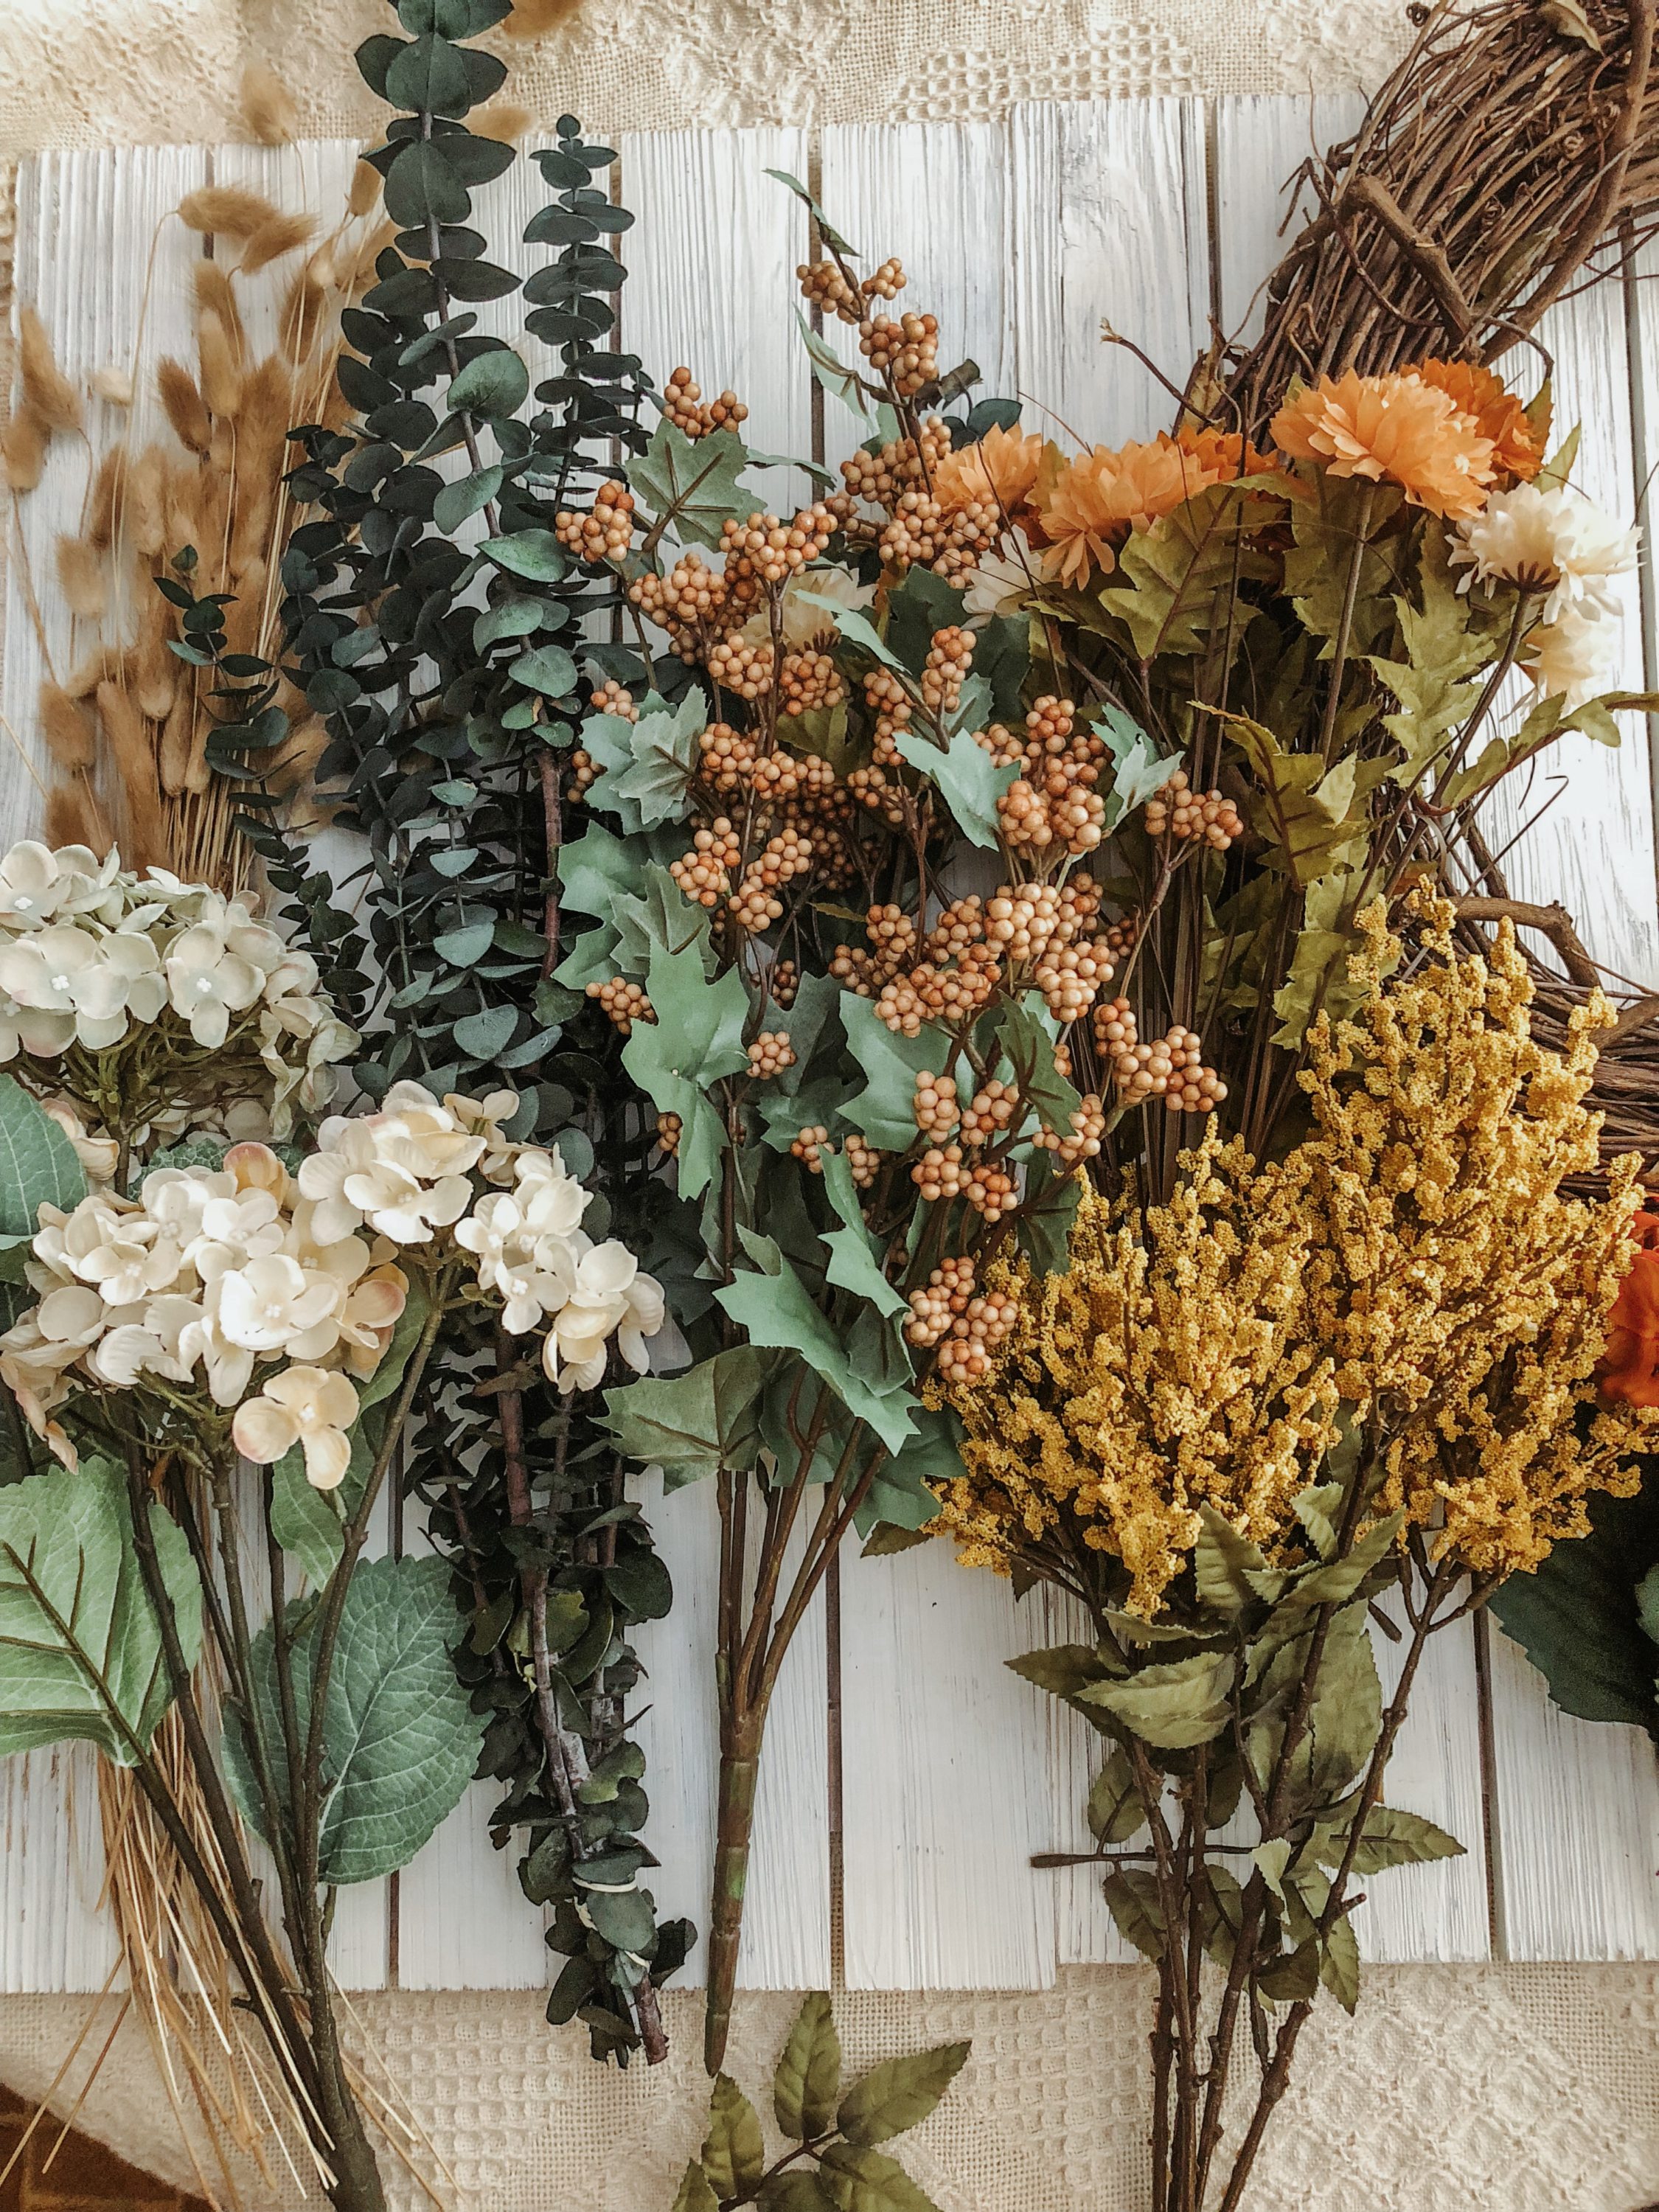
I’m no wreath expert, but here’s how I work!
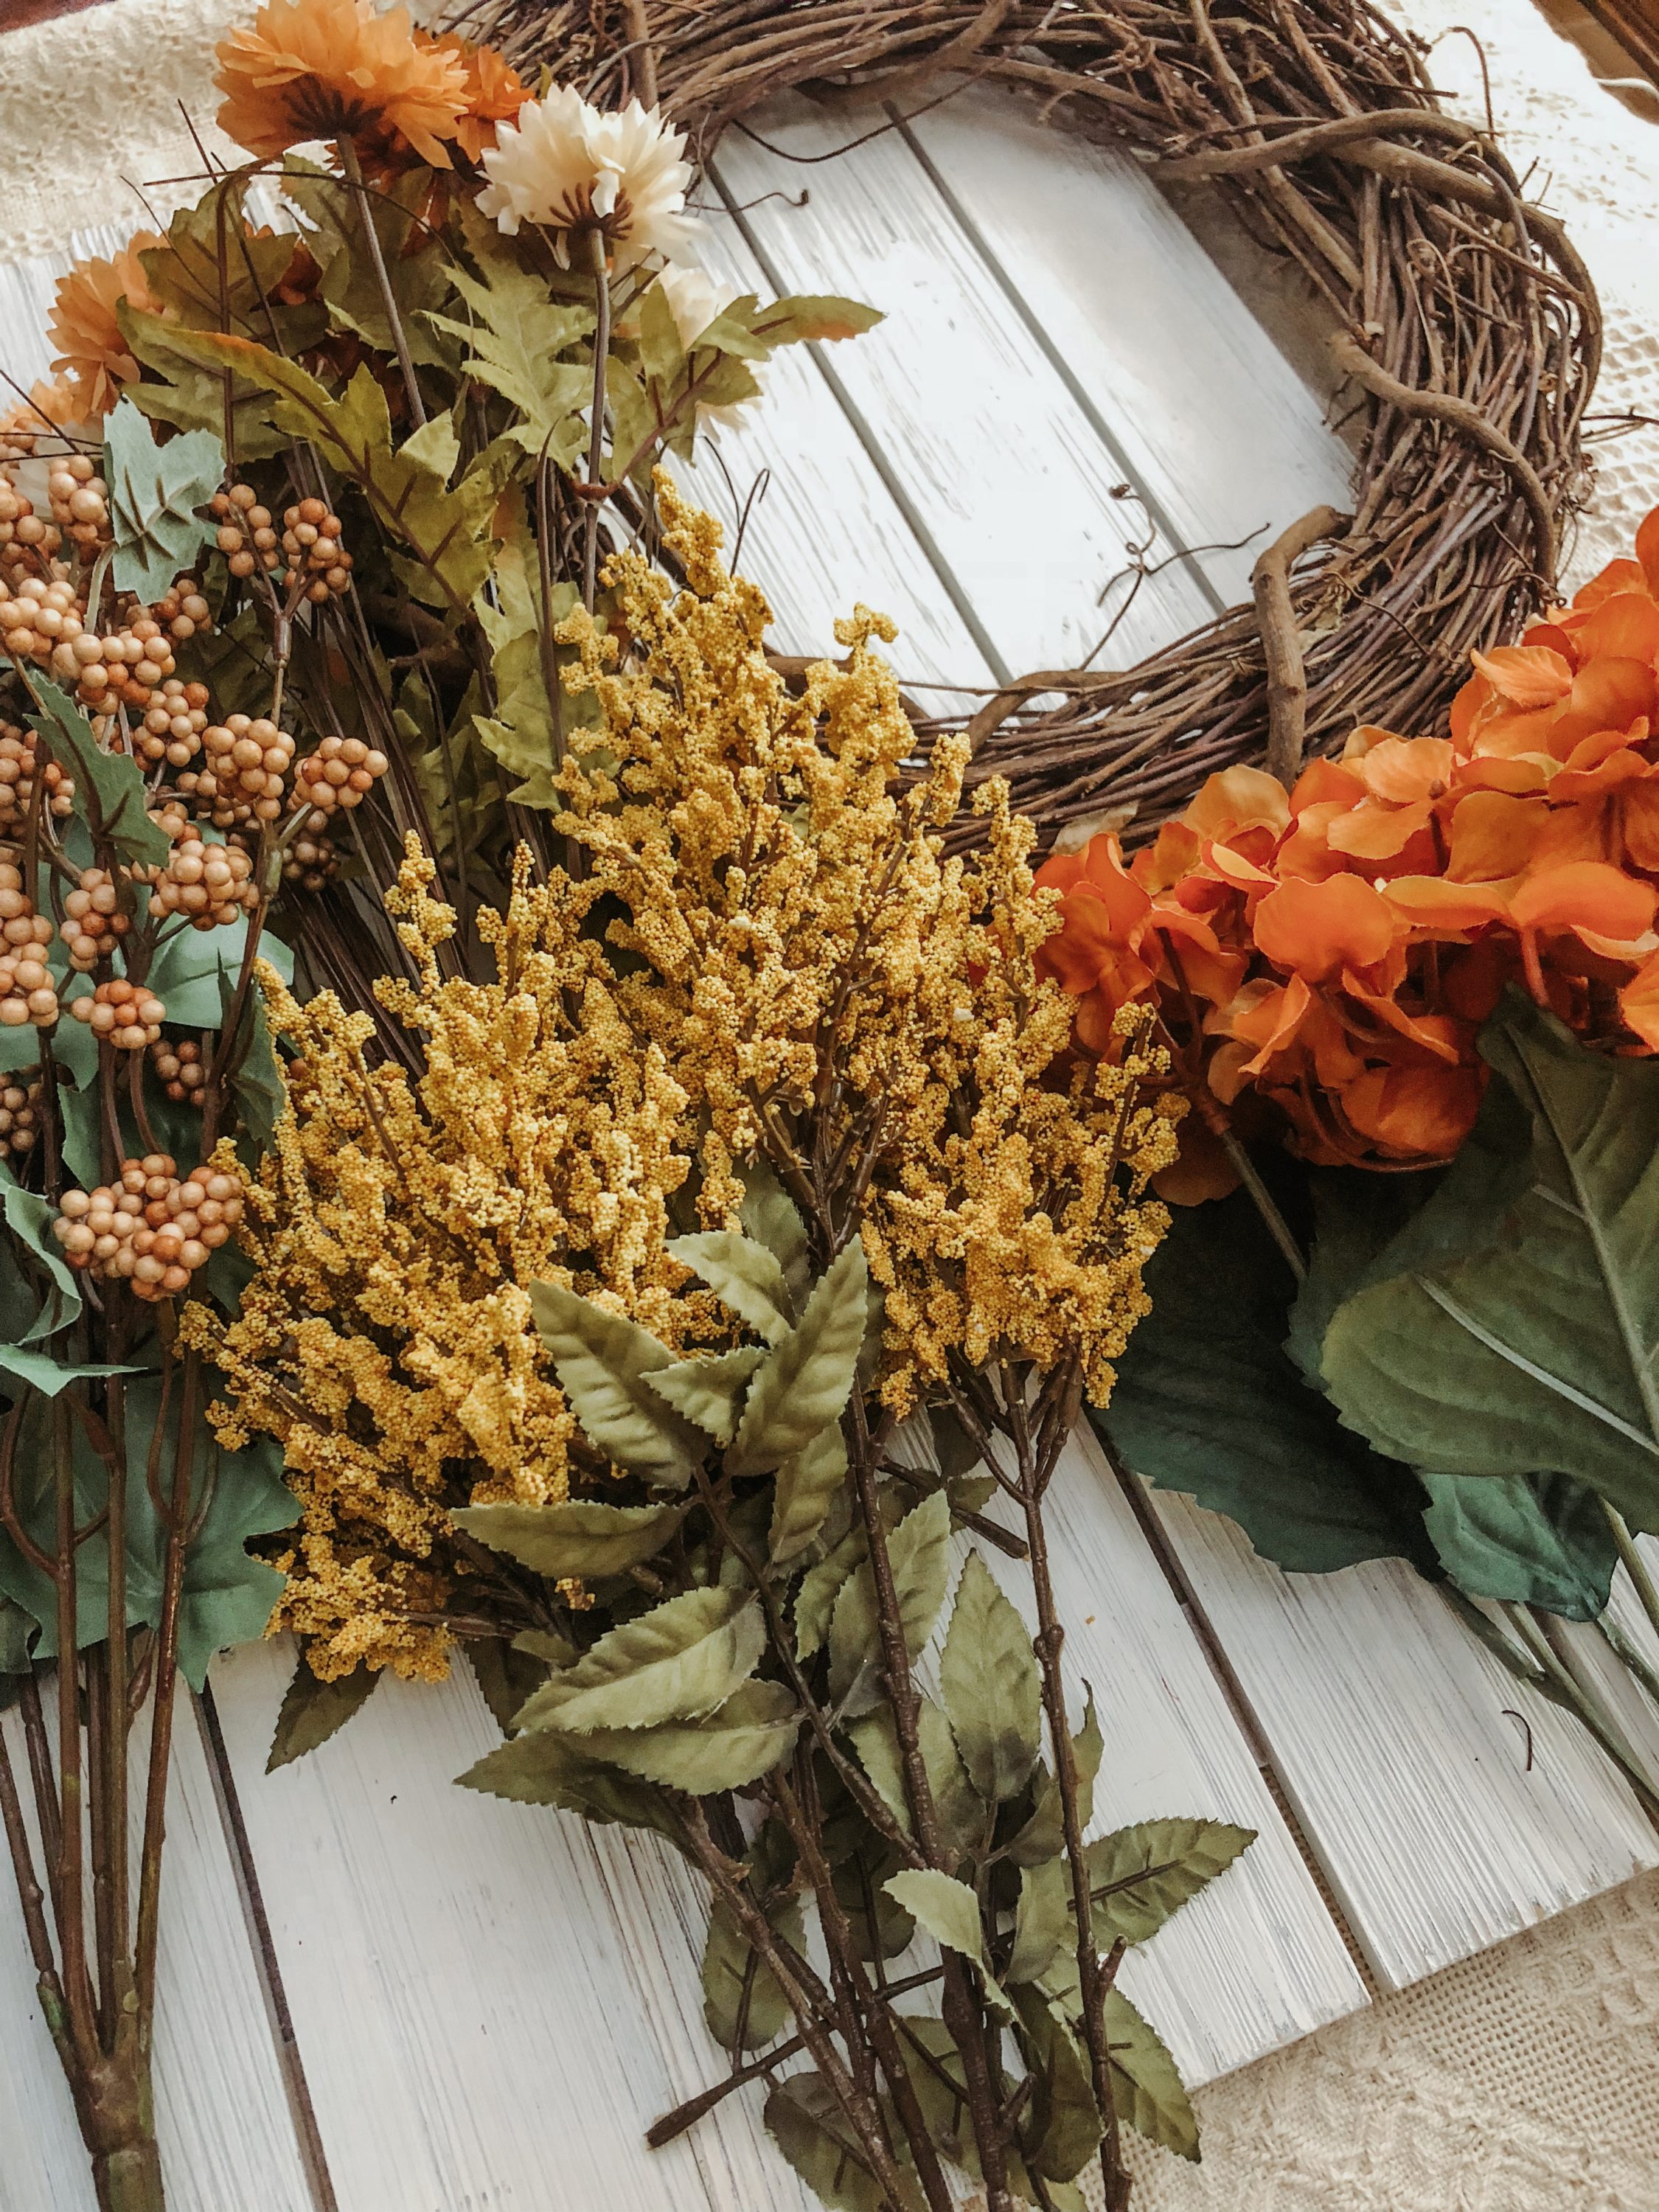
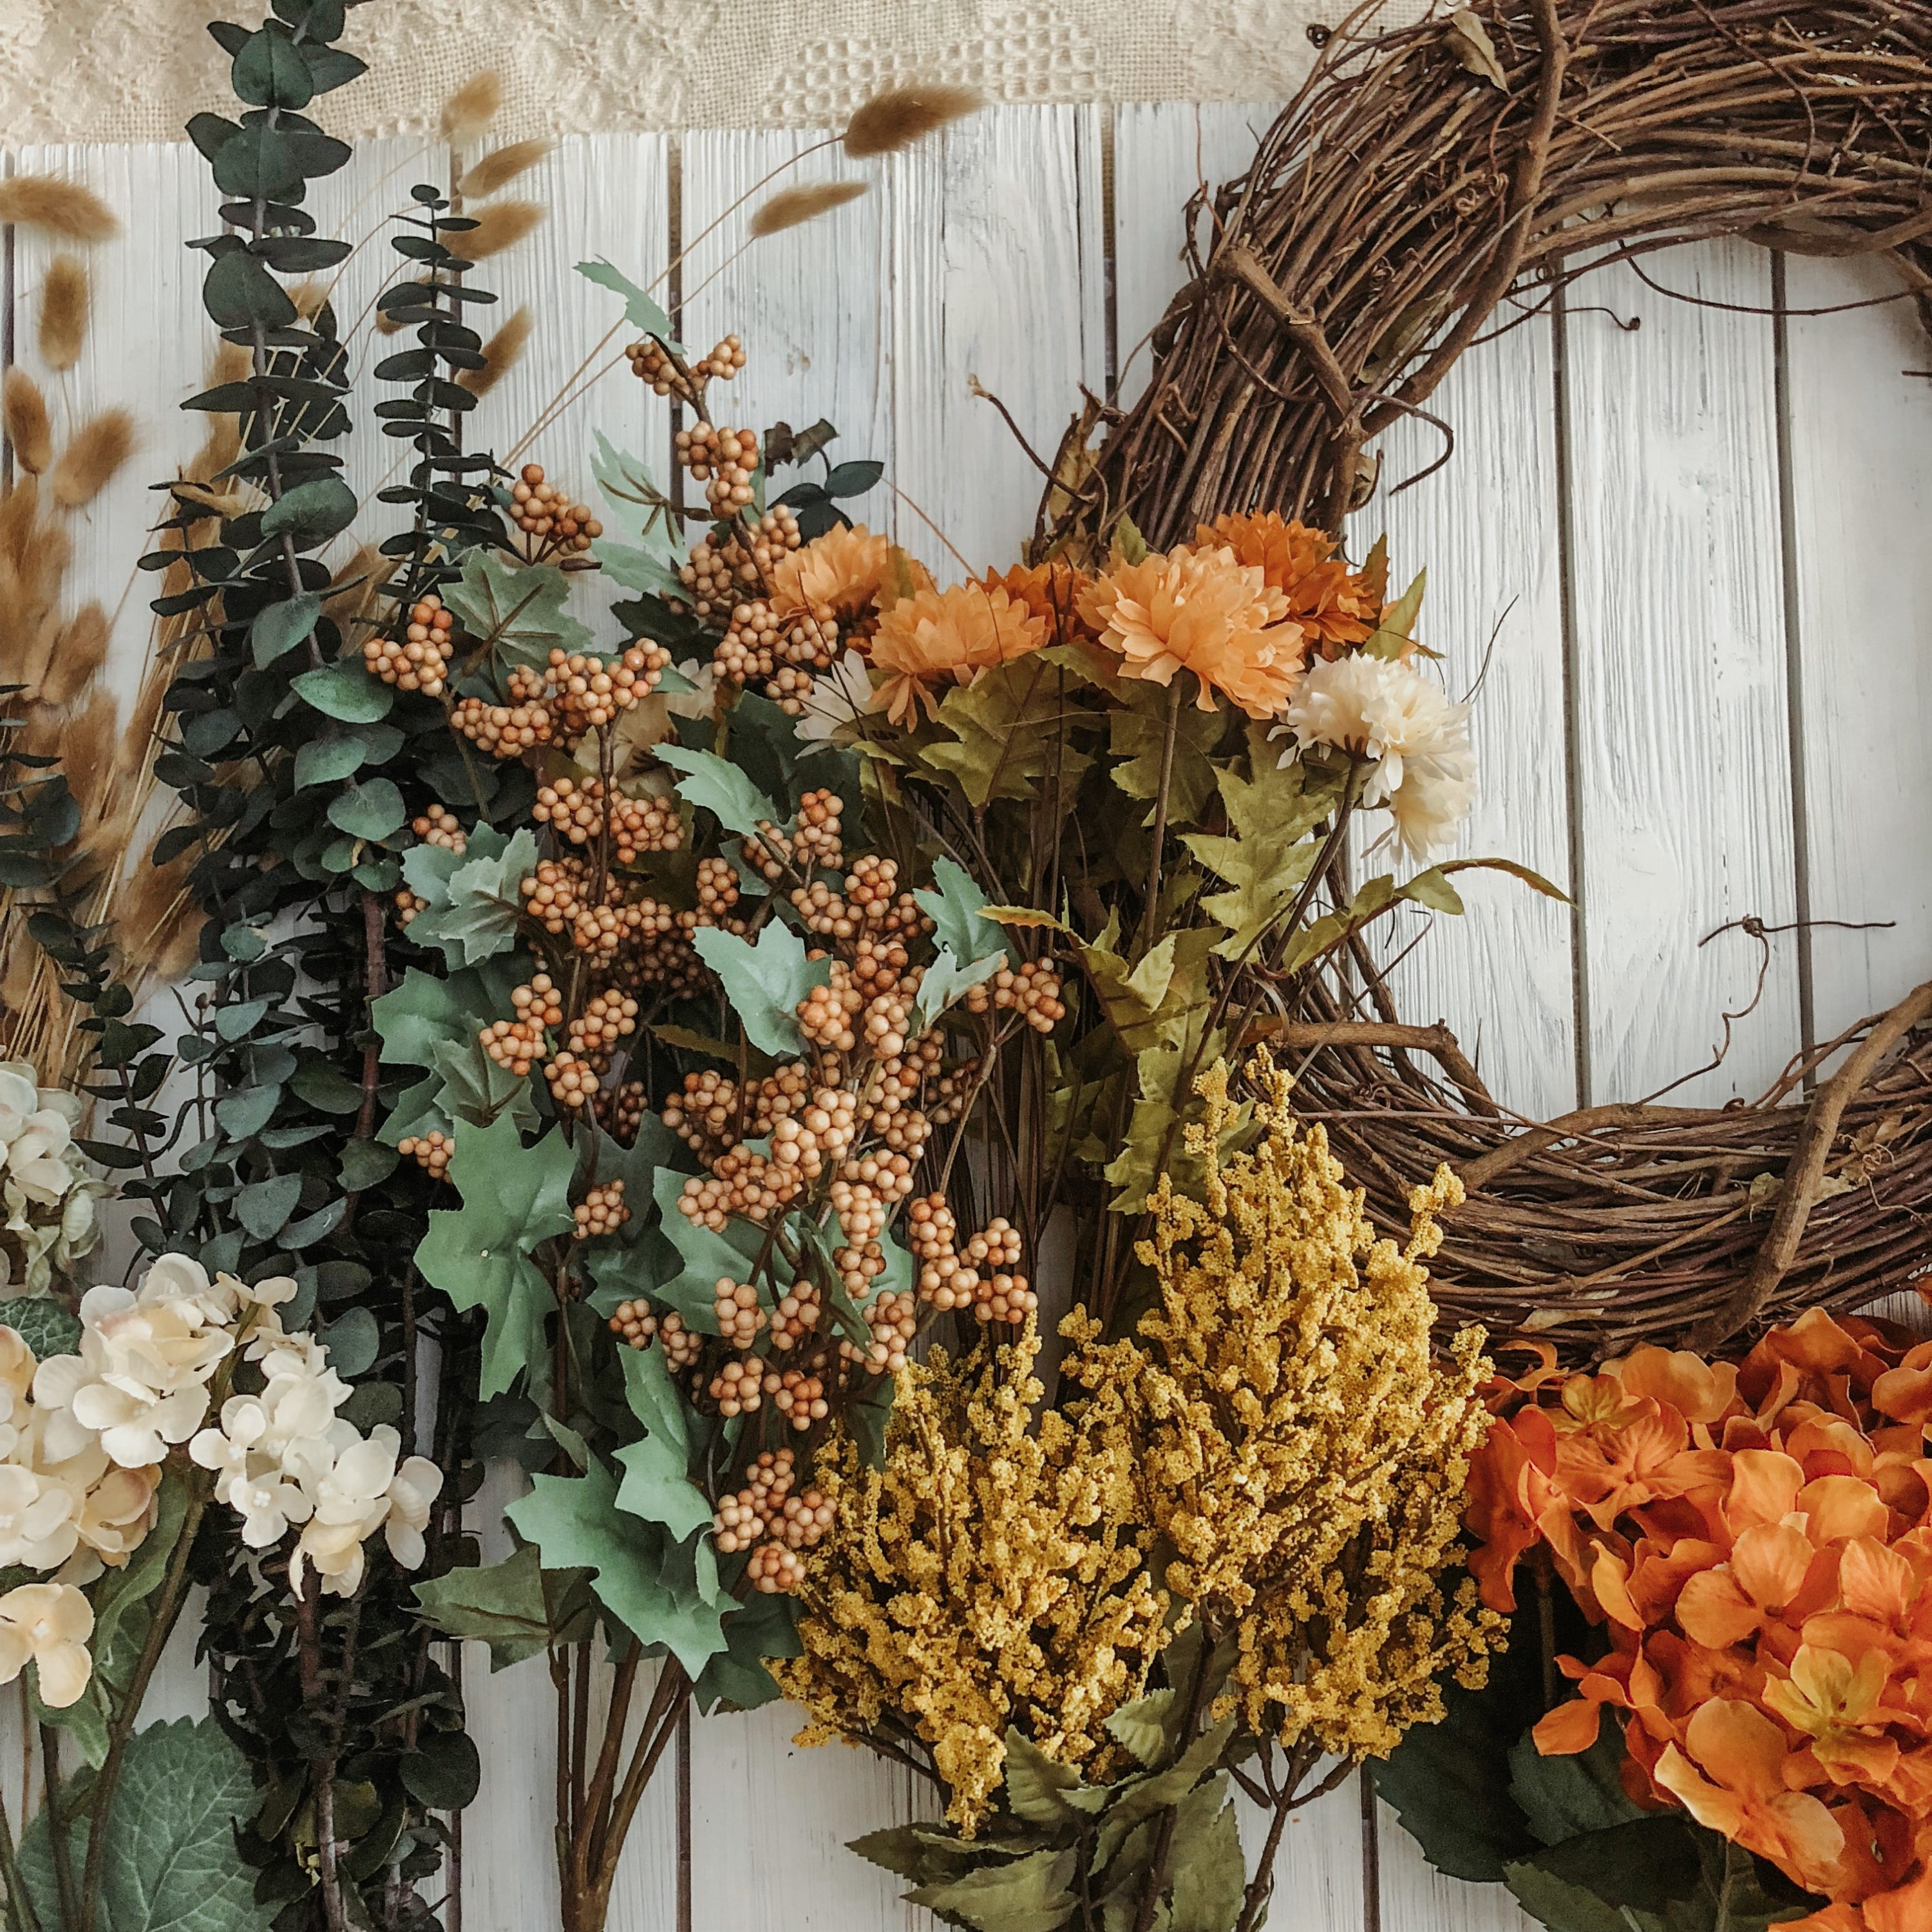
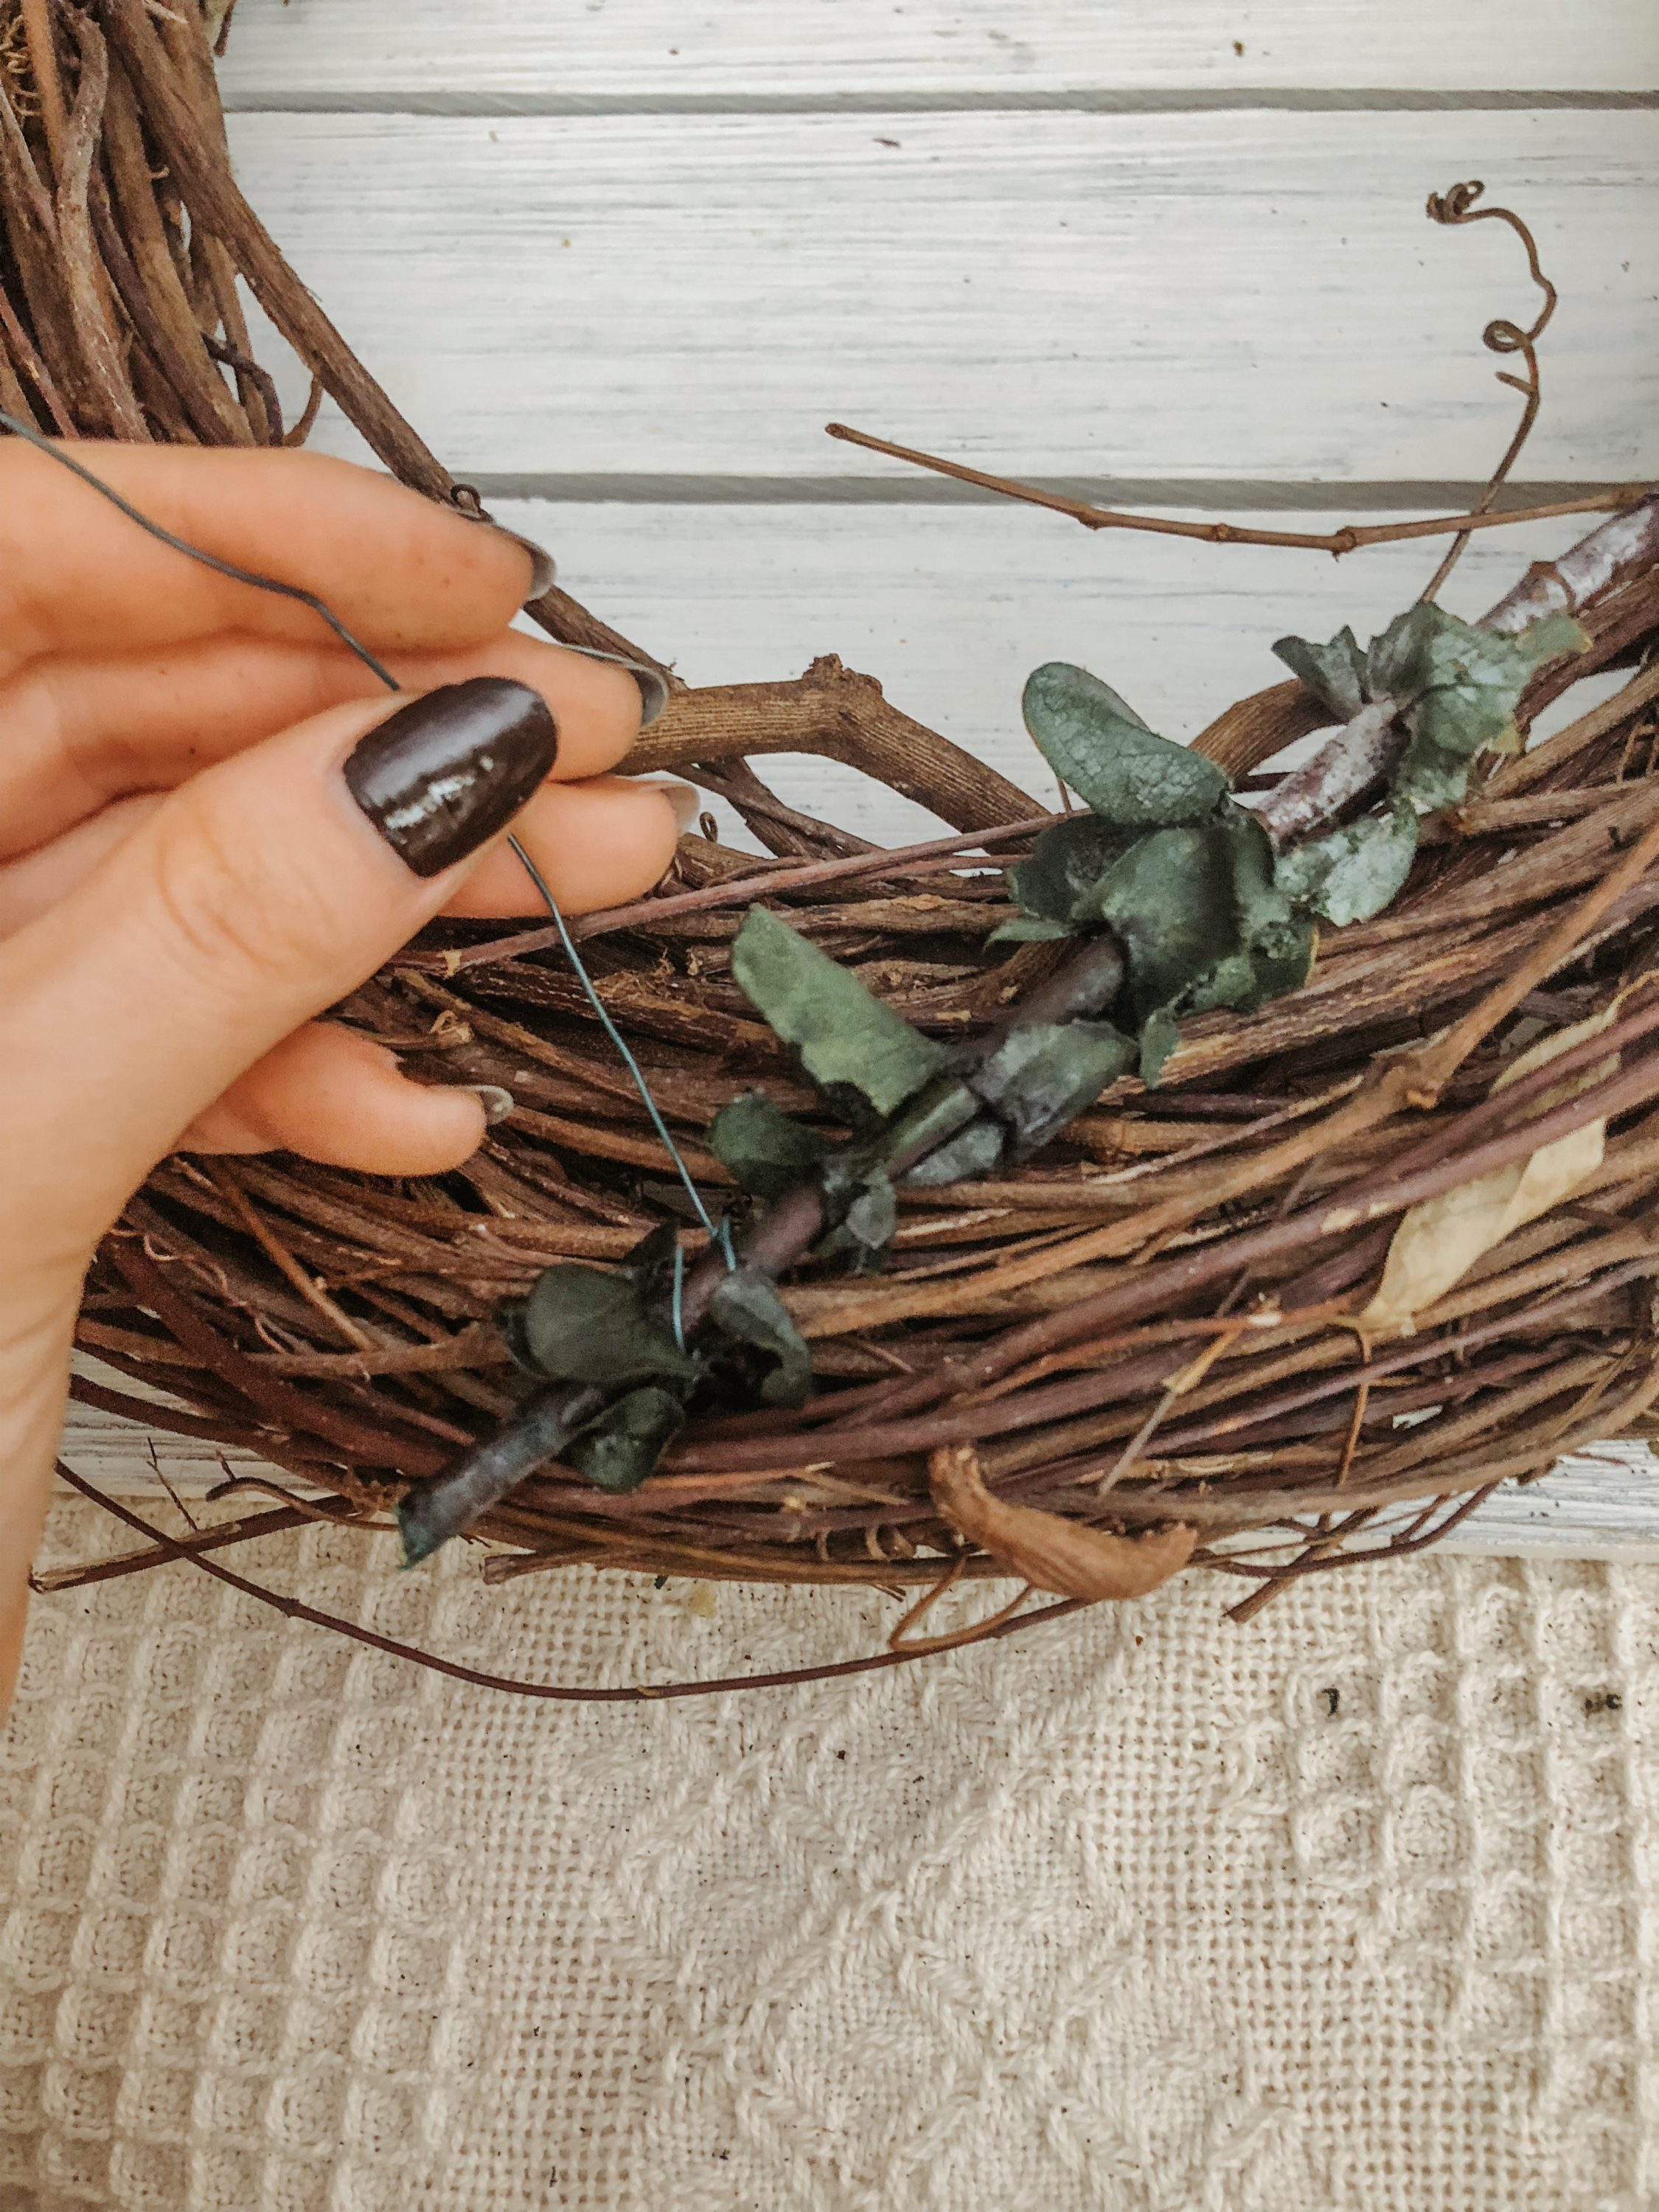
I start with the greenery type pieces: leaves, berries, or fillers. Anything that isn’t a flower gets secured down first. I do this by securing it down with flower wire and working in a circle. I finished going around once and then filled in any places I thought could use a bit more fluff.
Then I continue on with anymore leaves or fillers working in the same way I previously mentioned.
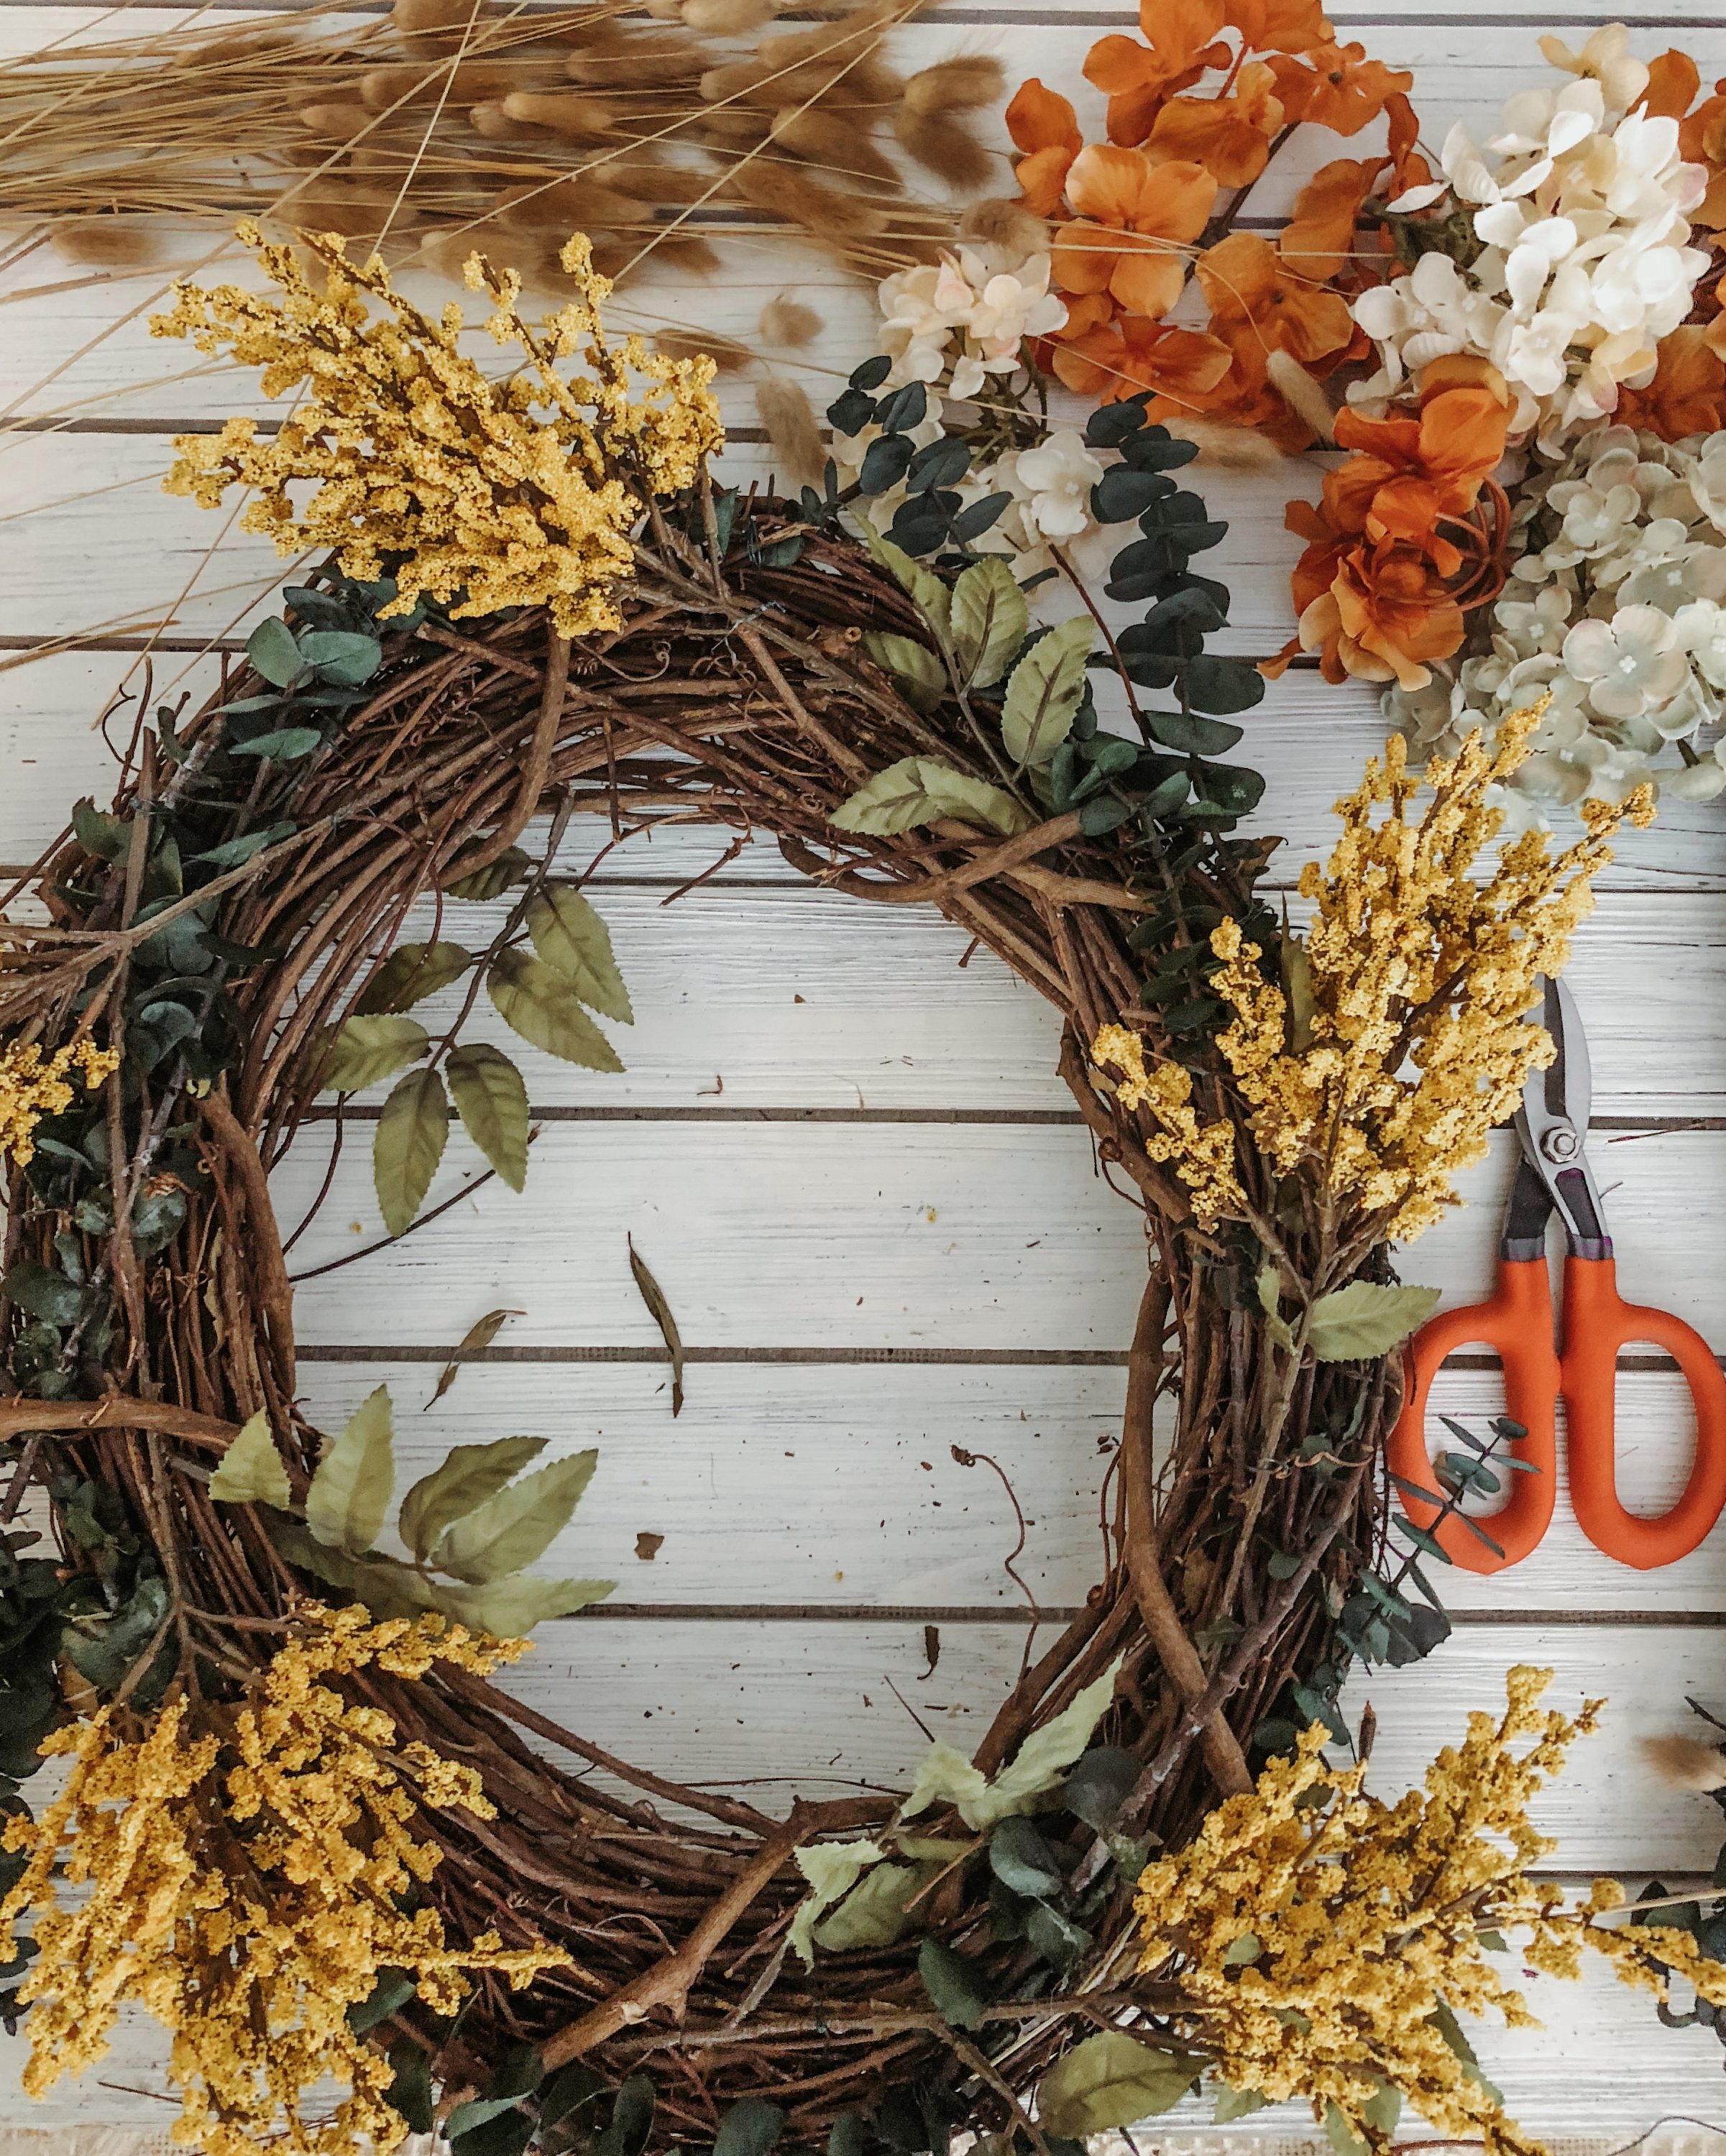
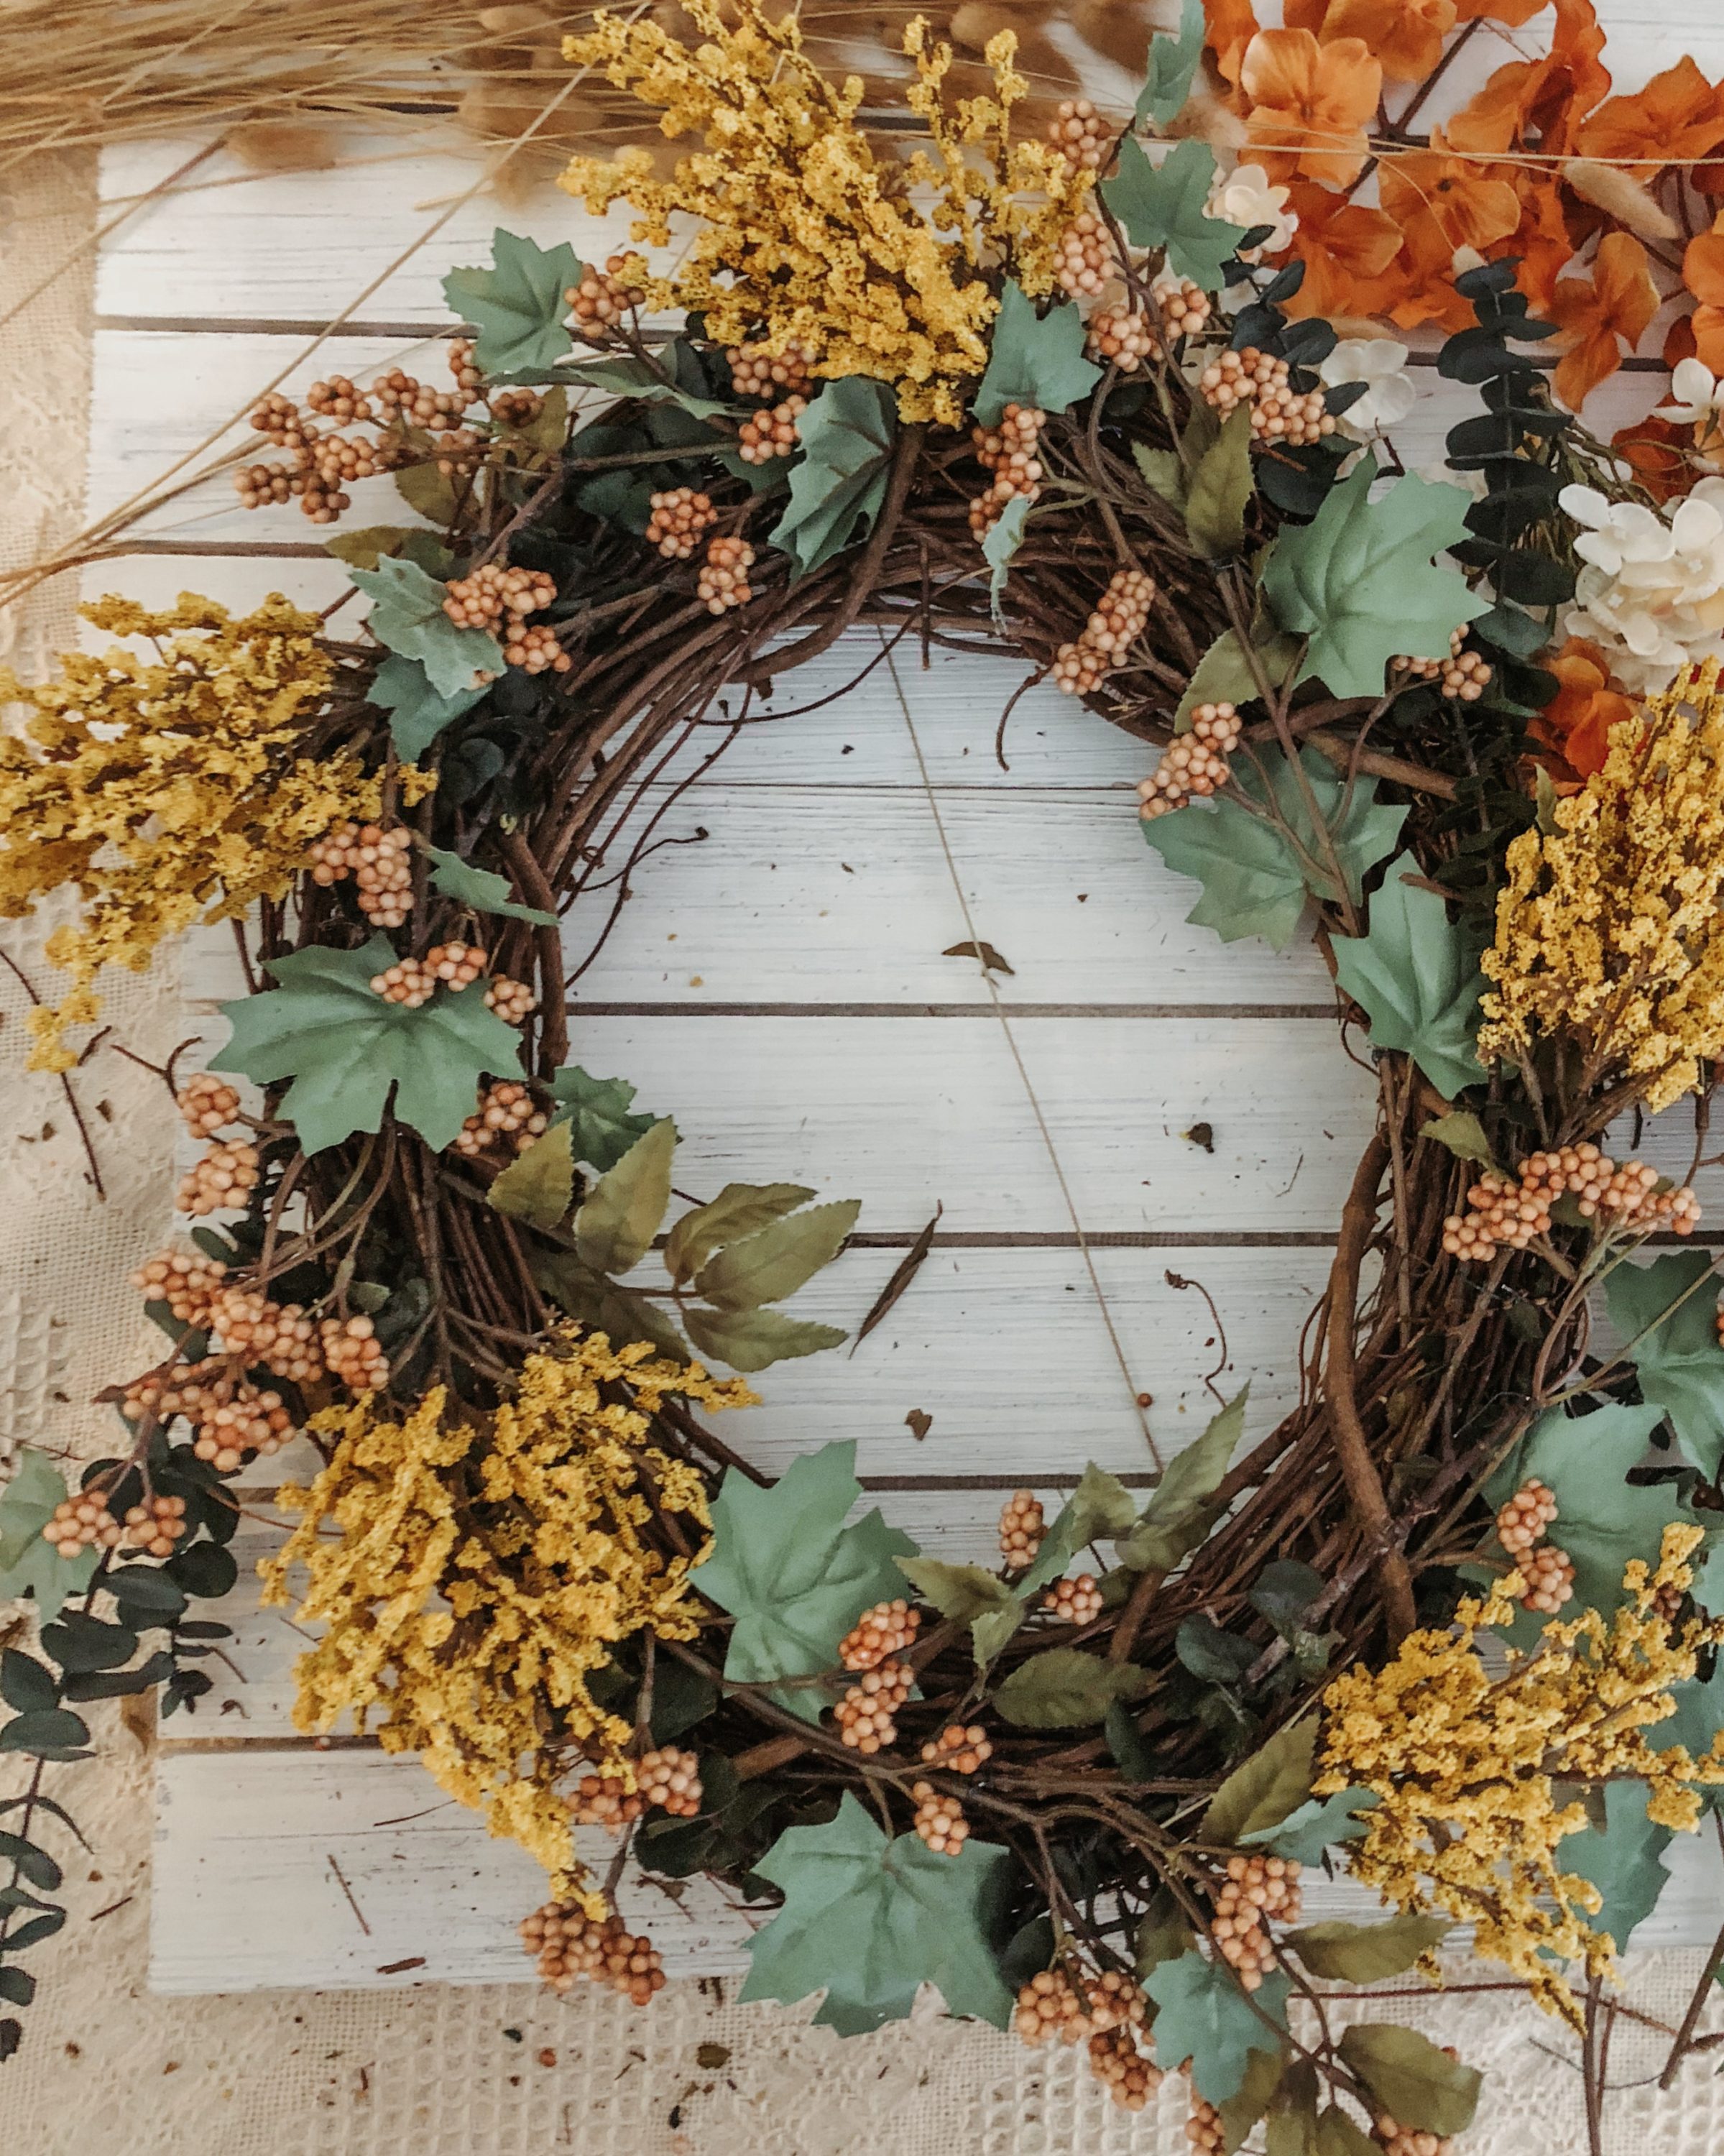
The final step is adding on all the flowers. First I cut them off the bunch while leaving a little stem. Maybe an inch. I use that part to put the hot glue gun and then stick it between the holes within the grapevine wreath. I fin this way easier then using the wire with the flower and definitely messier! It wouldn’t be my-kind-of craft without a little mess! Don’t worry, mom, I cleaned it up. I like to put the flowers down before I add the hot glue them; this lets me of see where they should each go and get a really good visual of it all. And there you go! Your perfect fall wreath with all the fixing.
Here’s a few little tips to keep in ming while your working:
Perfection is overrated.
Don’t worry about the flowers moving in a certain pattern or complete symmetry among your fillers. Life and wreaths are more fun when you shake things up a bit!
Get inspired by art, photography, or nature for your color scheme.
This one is fun! Head to Pinterest and just see what inspires you. Pick out a few colors from that and work with those.
Put a paper plate under your hot glue gun.
Sound stupid? Fine. But don’t say I didn’t remind you when you’re picking dried glue off your table cause things heated up too fast.
Lay down some paper or plastic before you get started.
Lol trust me. This is messier project than you might think and this will make cleanup a snap. Or workout side and enjoy the sunshine.


Leave a Reply
You must be logged in to post a comment.